Customer Services
Copyright © 2025 Desertcart Holdings Limited



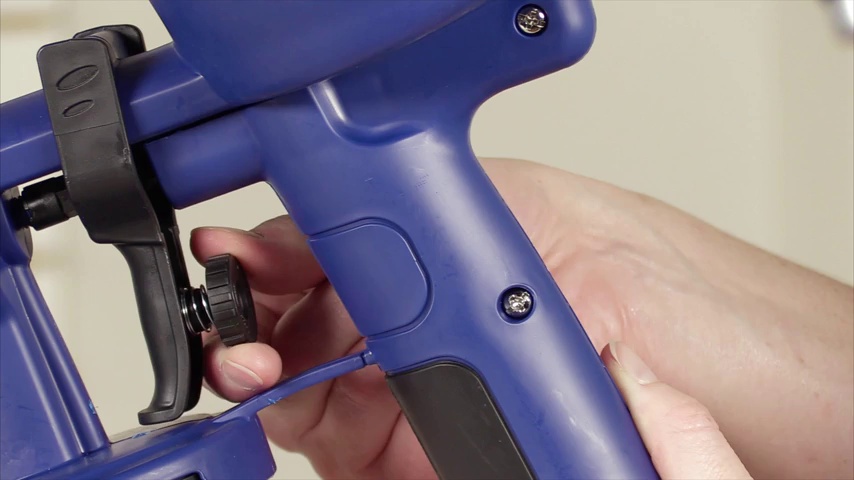
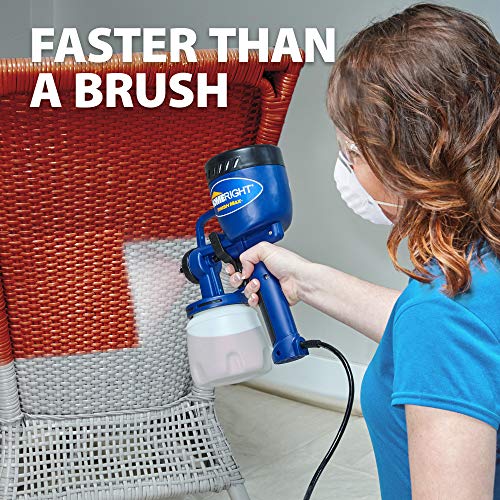
🎨 Elevate your DIY game with pro-level precision and zero hassle!
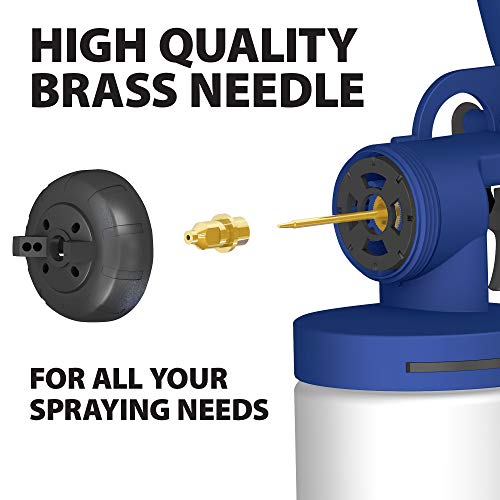
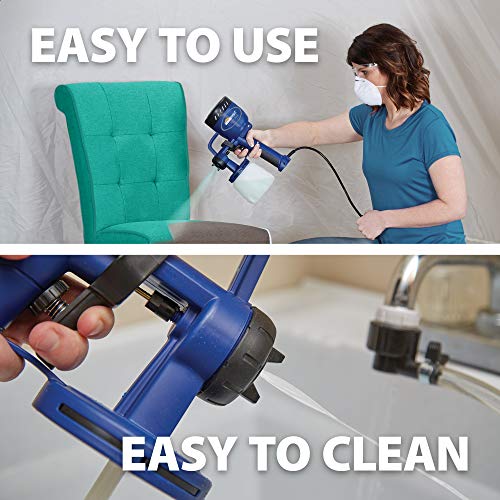
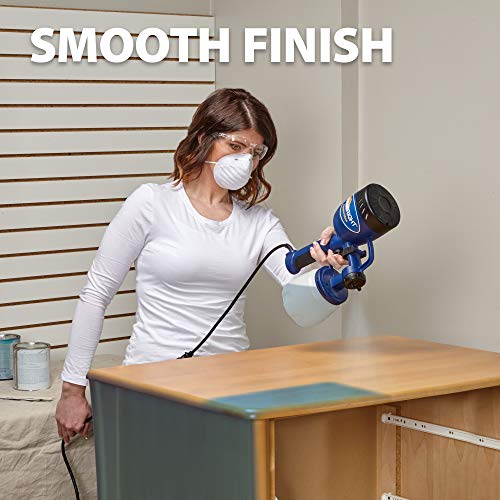
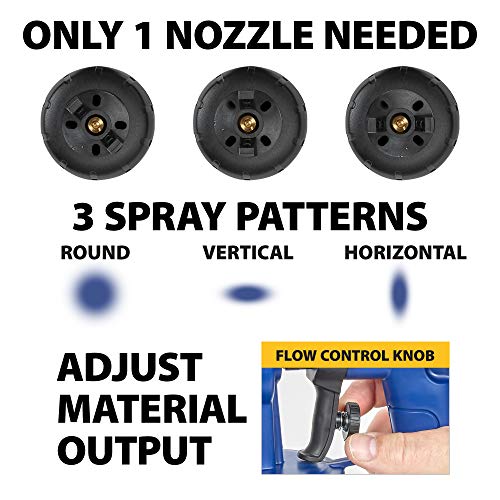
The HomeRight Finish Max HVLP Paint Sprayer is a lightweight, self-contained electric sprayer featuring a durable 2mm brass tip and three adjustable spray patterns. It holds 27 ounces of paint, supports a wide range of materials including latex, enamels, stains, and varnishes, and uses high volume, low pressure technology for smooth, brush-mark-free finishes. Perfect for furniture, cabinets, and trim, it offers professional results without the need for an air compressor and comes backed by a 2-year warranty and responsive U.S.-based customer service.


| ASIN | B003VKFDEO |
| Batteries Included? | No |
| Batteries Required? | No |
| Best Sellers Rank | #6,605 in Tools & Home Improvement ( See Top 100 in Tools & Home Improvement ) #4 in Power Paint & HVLP Sprayers |
| Brand | HomeRight |
| Color | Blue/White |
| Coverage | 8" spray pattern |
| Customer Reviews | 4.2 4.2 out of 5 stars (18,456) |
| Date First Available | July 12, 2010 |
| Finish | Eggshell |
| Global Trade Identification Number | 00012564007661 |
| Included Components | Finish Max, 27 oz. Viscosity Cup, Air Blow Nozzle, Cleaning Brush |
| Is Discontinued By Manufacturer | No |
| Item Package Quantity | 1 |
| Item Weight | 3.1 pounds |
| Item model number | C800766 |
| Manufacturer | Home Right |
| Material | Brass, Plastic |
| Model Name | Finish Max |
| Part Number | C800766 |
| Pattern | Sprayer |
| Power Source | AC/DC |
| Product Dimensions | 9"W x 12.5"H |
| Recommended Uses For Product | Flow control, High quality brass tips and needles provide superior performance, Lightweight design, Low pressure high volume, Superior finish |
| Size | Finish Max |
| Special Features | High Volume, Lightweight, Low Pressure |
| Style | Finish Max |
| Tank Volume | 27 Fluid Ounces |
| UPC | 012564007661 |
| Usage | Interior/Exterior |
| Warranty Description | 2-year limited warranty |
J**M
Sprayer that is worth the money
Bought this sprayer to paint my kitchen cabinets. I have used expensive sprayers in the past, but just didn't want to pay so much to paint my own cabinets. This sprayer does very well. I used Sherwin Williams gallery series primer and paint on these cabinets and doors using the 1.5 tip for paint and the 2.0 for primer, although I think the 1.5 will do both. Lays out a nice job with a little practice. I ordered a 2nd canister so I can have one for the paint and one for the primer. Sprayer cleans up easily. All in all, a good sprayer for probably most any job. UPDATE: After quite a bit of use it got to where it was spraying really bad. The needle that moves back and forth with the trigger pull was moving very slowly and was getting partially stuck. I took the side of the gun off, which is held on by like 4 screws and pulled the needle out. There is a plastic piece it passes through that will unthread. It was getting bound up on that. I had used it to spray some urethane and I don't think I got it completely clean. It was kind of gummy. I cleaned it out good and put a small bit of grease in that plastic part and now it sprays as it always did. So if you buy one and it starts to have a similar issue, try that first. It's pretty simple and only takes like 5 minutes.
M**.
Profitable Tool For Handyman
I am a small handyman/remodel contractor and this sprayer has been my most profitable tool so far. And It is now cheaper than the first one I bought. The sprayer is easy to use and the results are professional. I've painted dozens of cabinets, doors, hundreds of feet of baseboard and trim. I've sprayed stain and poly without issues (I do recommend getting the additional spray tips that are available for a finer spray when staining). Paint clean-up is always a pain but overall this sprayer is easy to clean. All the important parts disassemble for cleaning. During use, you will need to wipe the spray tip because paint can build up. No big deal. I haven't seen any sprayers that don't have this issue. I bough my first super finish max sprayer in 2020 and used it until my own laziness trashed the sprayer and now I am buying the same sprayer to replace it. All I will say is...Clean your tools after each use!! Final note...for best results, learn to thin and strain your paint/stain materials properly. Enjoy!
J**S
Great for small paint jobs, not large ones. Works excellent if kept clean/cleared while using.
Decent sprayer for the money, but definitely limited to small jobs when it comes to painting. Staining, varnishing, sealing may produce different/better results than what I experienced with paint so my review is limited in scope. This sprayer doesn't produce enough pressure to spray most latex water-based paints without thinning them, even if you have the right sized tips according to the paint manufacturer and the volume control knob is turned all the way up. Be prepared to thin your paint, which might require more than 1 coat depending on your expected results. The different spray patterns (vertical/horizontal/circular) work quite well, but you'll want to practice a bit beforehand with the thinned paint to ensure you know what distance away from the surface you need to hold the sprayer in order to get the coverage you want. I sprayed a bunch of 6 panel doors, casings and trim and this worked great. Definitely easier than dragging out a large sprayer and produces a better look with much less effort than a paintbrush. You'll want to stop periodically (more than you would like to) and clean the tip and the air caps around the tip to ensure no paint is clogging it. It sprays fantastically when clean, but clogs up fairly easily and quickly...again...this is for small applications. I then tried spraying a ceiling with it (only 7 ft high, ~400 sq ft). This is definitely not the right/best tool for that job. Ignoring that you have to be very close to your application surface in order to get proper coverage, the angle at which you must spray becomes problematic. The suction tube that goes into the canister can be adjusted so you can tilt the sprayer upward and get more of the paint out, but it still leaves too much paint in the canister before needing to refill. If the suction tube were just a bit longer I think this would not be a problem. As with any sprayer, there is overspray and the aerosolized paint will hover in the air so mask/tape up appropriately, but this is definitely less of a problem than a full sized airless sprayer. The different needles, tips, air caps and wrench are all tiny and will easily get lost of you don't keep them in a spot where they aren't loose. Can't say that cleaning is easy, but cleaning any paint sprayer is usually annoying and cumbersome. Lots of small parts that can get lost down a drain or dropped and a lot nooks and crannys on the device that collect paint and once dried only come off with brushing. The supplied brush does work, but it's pretty small and is probably more for clearing the tips and air caps while spraying than for cleaning. Overall, I'd say this is a good value for the money, especially if you have a small job that you'd like to get a "sprayed" finish look to it. I will use this again and believe it is worth the $120.00
A**R
Has anybody from UK managed to use the sprayer with adapter plug? As it is at the moment it's unusable with U.S plug. Any help or advice much appreciated.
S**L
Very good you need stepdown converter in India works on 120volts
L**A
I love this paint sprayer gun. I am using it to paint my kitchen cabinets and I love the results. The finish is perfect, there are no paint splashes like with other guns I tried, easy to use. Cleaning is a bit challenging as you cannot disconnect the motor part when cleanings so you need to be careful not to get it wet. But I didn't mind about it and would recommend it!
C**O
Excelente para pintar dos casas juntas de dos niveles, al principio dude que pudiera pintar la casa con la pistola pues p nse que era más para muebles y cosas pequeñas pero 😮 ohh sorpresa la pared es rugosa y muy difícil de pintar con brocha o con rodillo sería mucho tiempo y muy cansado y tedioso pero con esta pistola en un día pinte las dos casas de volada y súper fácil, ya después solo detalles por qué la pared como mencioné es muy rugosa solo una pasada poniendo la pistola de lado para llegar a pequeñas zonas donde casi no llegaba la pintura pero ya con la práctica solo con una pasada quedaba listo sin necesidad de otra pasada, hay que combinar muy bien la viscosidad por ejemplo una pintura vinil acrílica de 7 años que es muy espesa entre un 40 a 50% de agua y lo mismo de pintura, si es pintura más baja o barata de 1 a 3 años se mezcla 3 partes de pintura y una de agua por qué es menos espesa y de verdad que muy fácil y rapidísimo, todos los vecinos pasaban a felicitarme por la rapidez y facilidad de pintar y cubrir toda la pared, tip: hay que limpiar muy bien todo los accesorios y puntas entre cada rellenado del contenedor de pintura, la mejor compra por mucho recomendadisima...!!! Y para muebles y proyectos pequeños no se diga acabado profesional, en serio muy buena herramienta para pintar, desde una casa completa hasta cualquier mueble de tu casa y hasta la herrería.
M**T
Literally pulled the trigger for ten seconds and it caught fire. I would give a 1 star but the seller was quick to act and I was fully refunded..
Trustpilot
4 days ago
3 weeks ago