
DOWNLOAD THE APP


Customer Services
Copyright © 2025 Desertcart Holdings Limited
DOWNLOAD THE APP
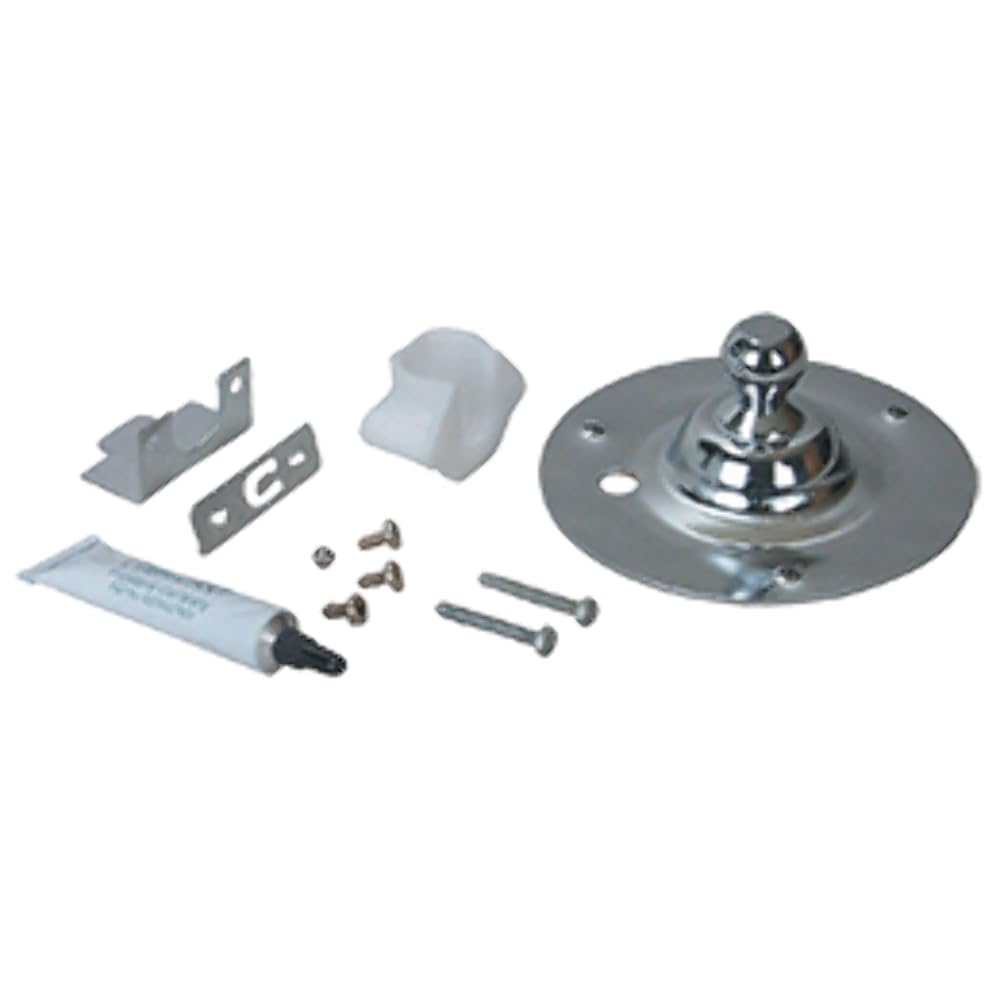
⚙️ Upgrade your dryer's heartbeat with genuine precision!
The Frigidaire 5303281153 Rear Bearing Kit is a genuine OEM replacement part made from durable alloy steel. Designed specifically for select Frigidaire dryer models, this compact ball bearing kit ensures smooth, quiet operation and long-lasting performance, making it an essential upgrade for maintaining your dryer's efficiency and reliability.

| Brand | Frigidaire |
| Material | Alloy Steel |
| Item dimensions L x W x H | 3 x 3 x 4 inches |
| Item Weight | 0.44 Pounds |
| Bearing Number | 5303281153 |
| Specification Met | Oem |
| Bearing Type | Ball Bearing |
| Compatible Lubricant | Lubricant |
| UPC | 785524967595 717449082381 681441194437 048172041476 647444500378 840993010903 688580929265 687152162512 |
| Global Trade Identification Number | 00048172041476 |
| Manufacturer | Frigidaire |
| Brand Name | Frigidaire |
| Model Info | 5303281153 |
| Item Weight | 7 ounces |
| Product Dimensions | 3 x 3 x 4 inches |
| Item model number | 5303281153 |
| Is Discontinued By Manufacturer | No |
| Part Number | 5303281153 |
| Material Type | Alloy Steel |
| Batteries Included? | No |
| Batteries Required? | No |
Trustpilot
5 days ago
1 week ago
2 weeks ago
5 days ago