Some deliveries may take a little longer than usual due to regional shipping conditions.

DOWNLOAD THE APP


Customer Services
Copyright © 2025 Desertcart Holdings Limited
DOWNLOAD THE APP
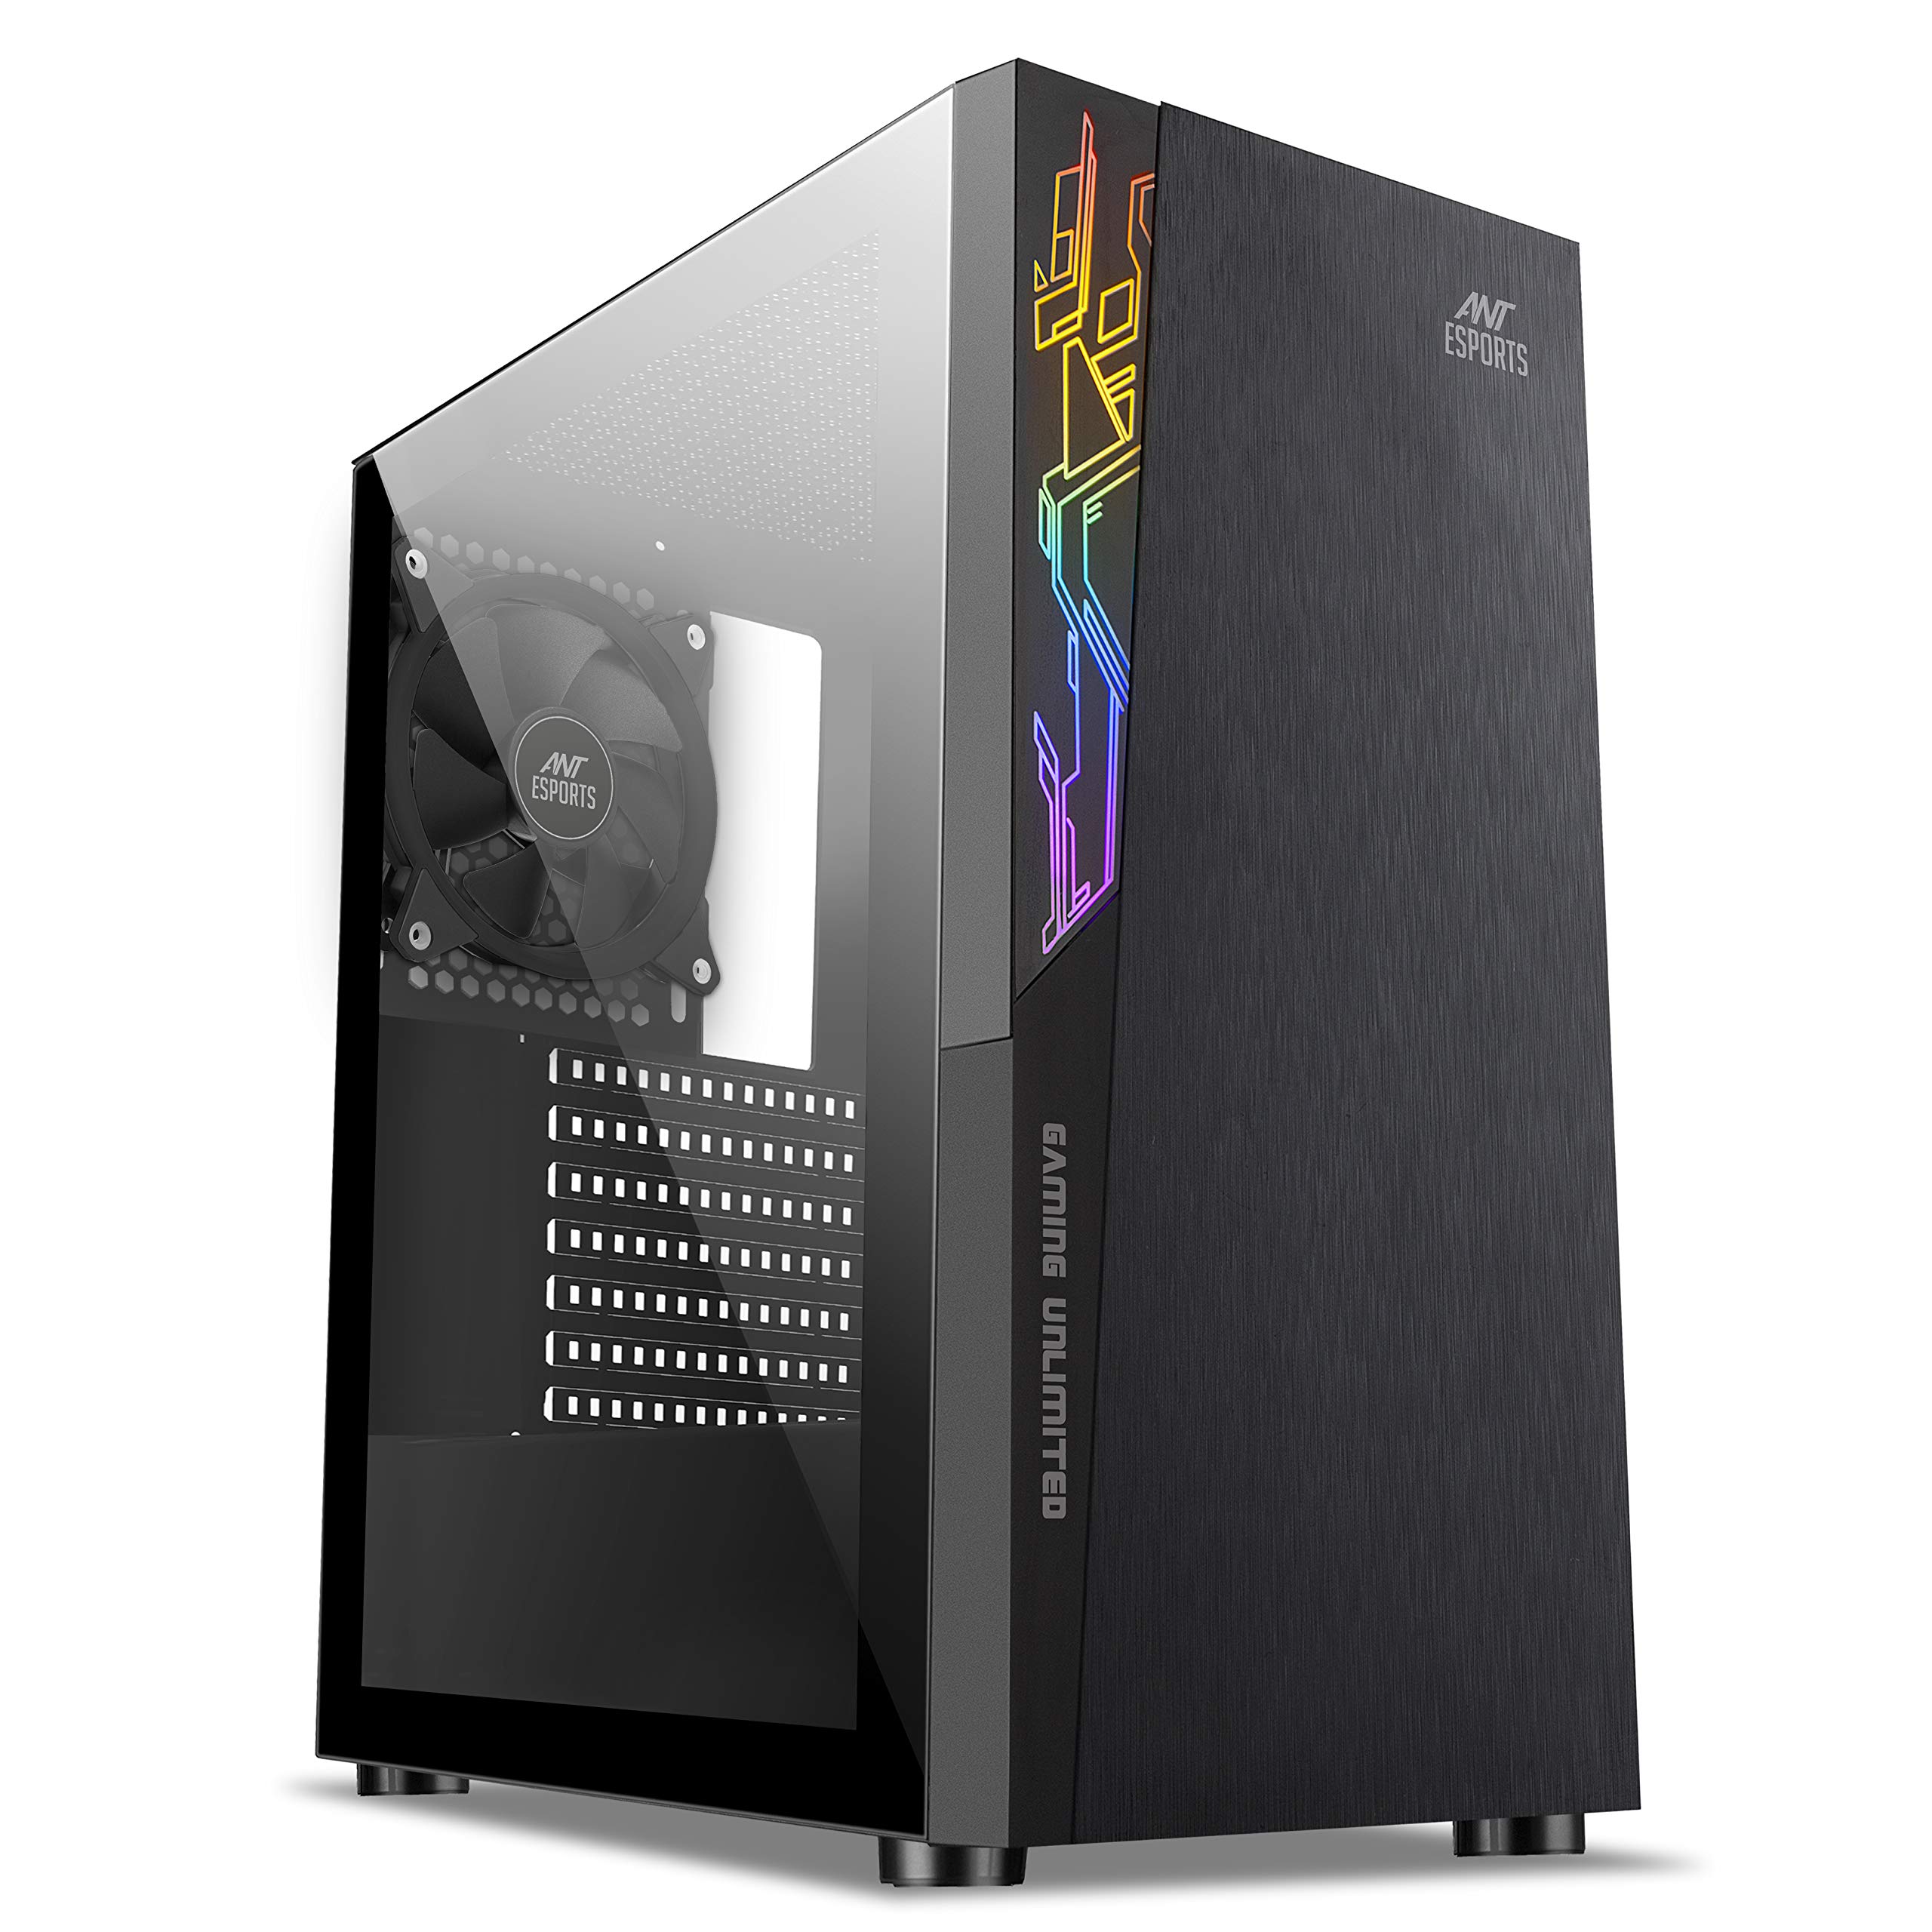

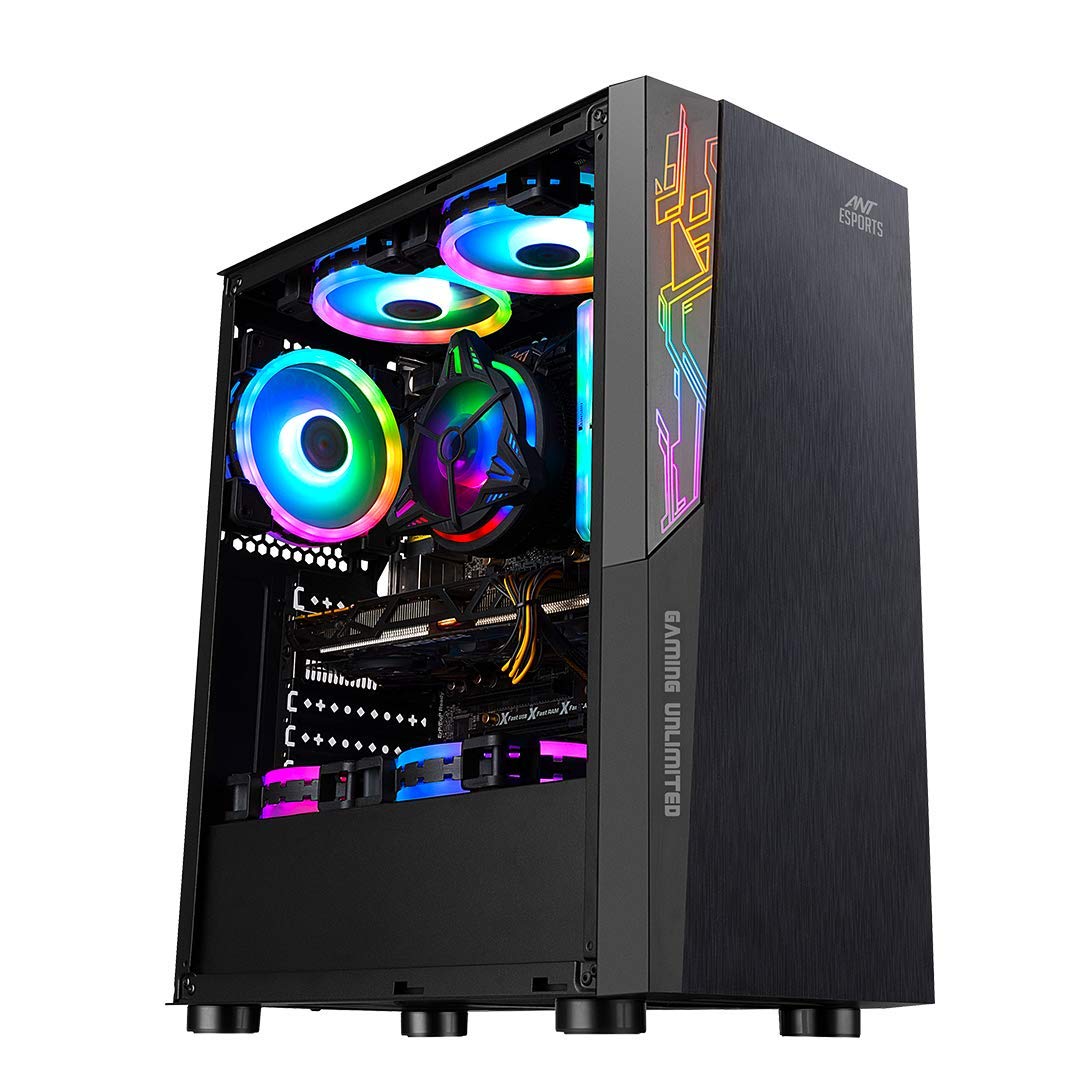
❄️ Chill in style, game with power — the ICE-120AG is your ultimate mid-tower upgrade!
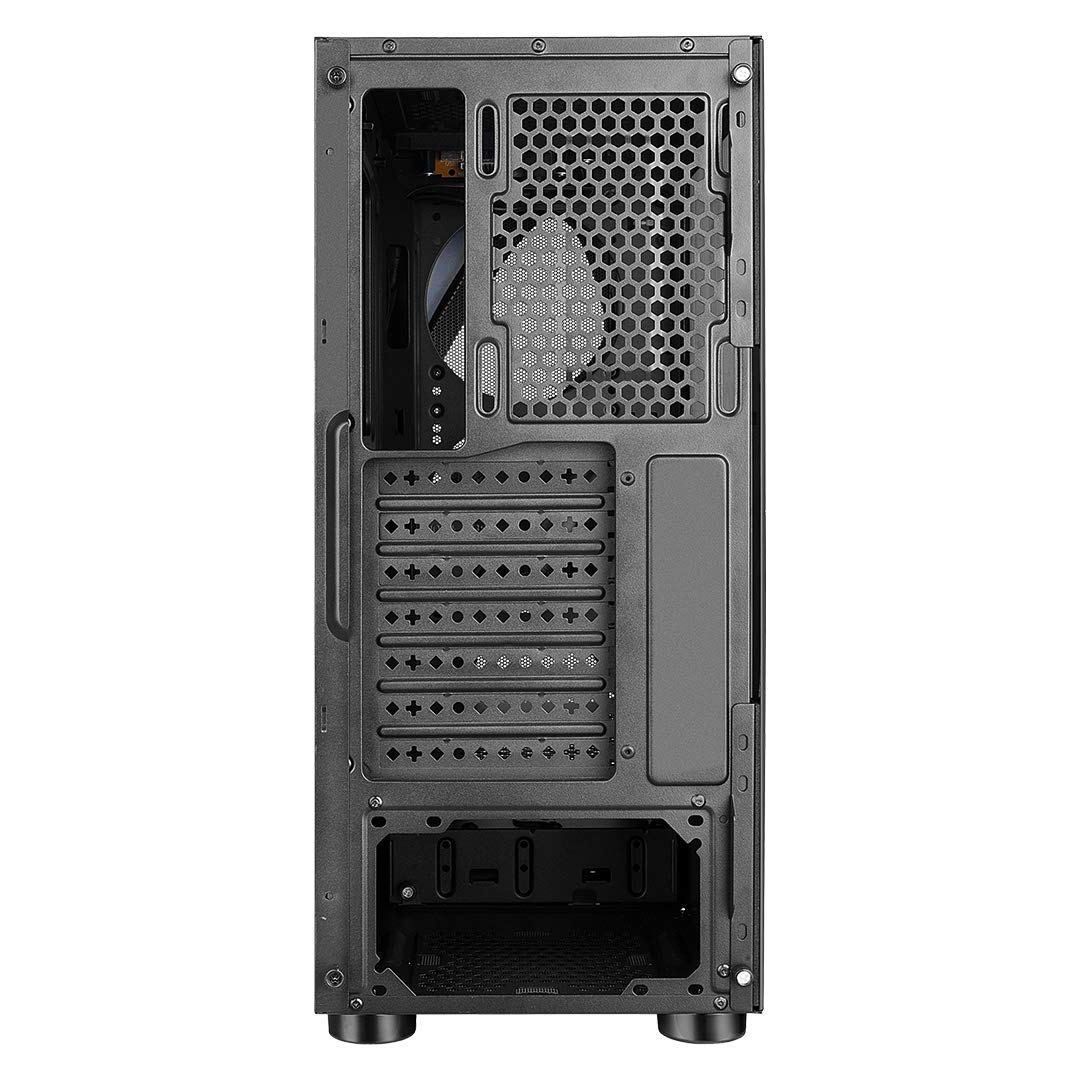
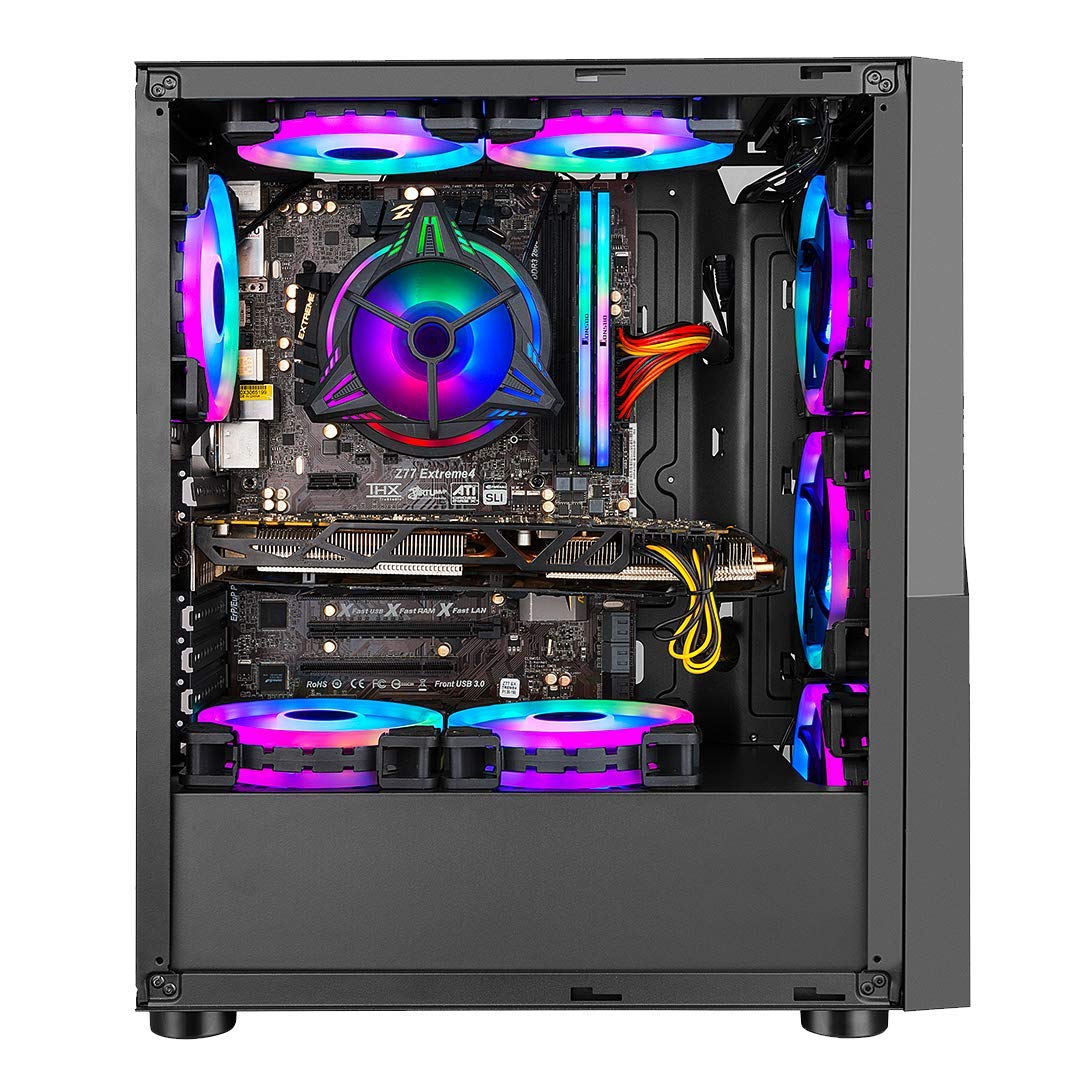
The Ant Esports ICE-120AG is a sleek mid-tower gaming case featuring a black matte finish and tempered glass side panel. It supports ATX, Micro-ATX, and Mini-ITX motherboards, includes a pre-installed 120mm rear fan, and offers extensive cooling options with space for up to seven 120mm fans and liquid cooling. With dedicated cable management and separate PSU zones, it ensures a clean, efficient build. Storage is flexible with support for 2 HDDs and 2 SSDs, making it a versatile choice for professional gamers and PC enthusiasts.


| Brand | Ant Esports |
| Manufacturer | Ant Esports, Ant Esports |
| Series | ICE 120AG |
| Colour | Black |
| Form Factor | ATX |
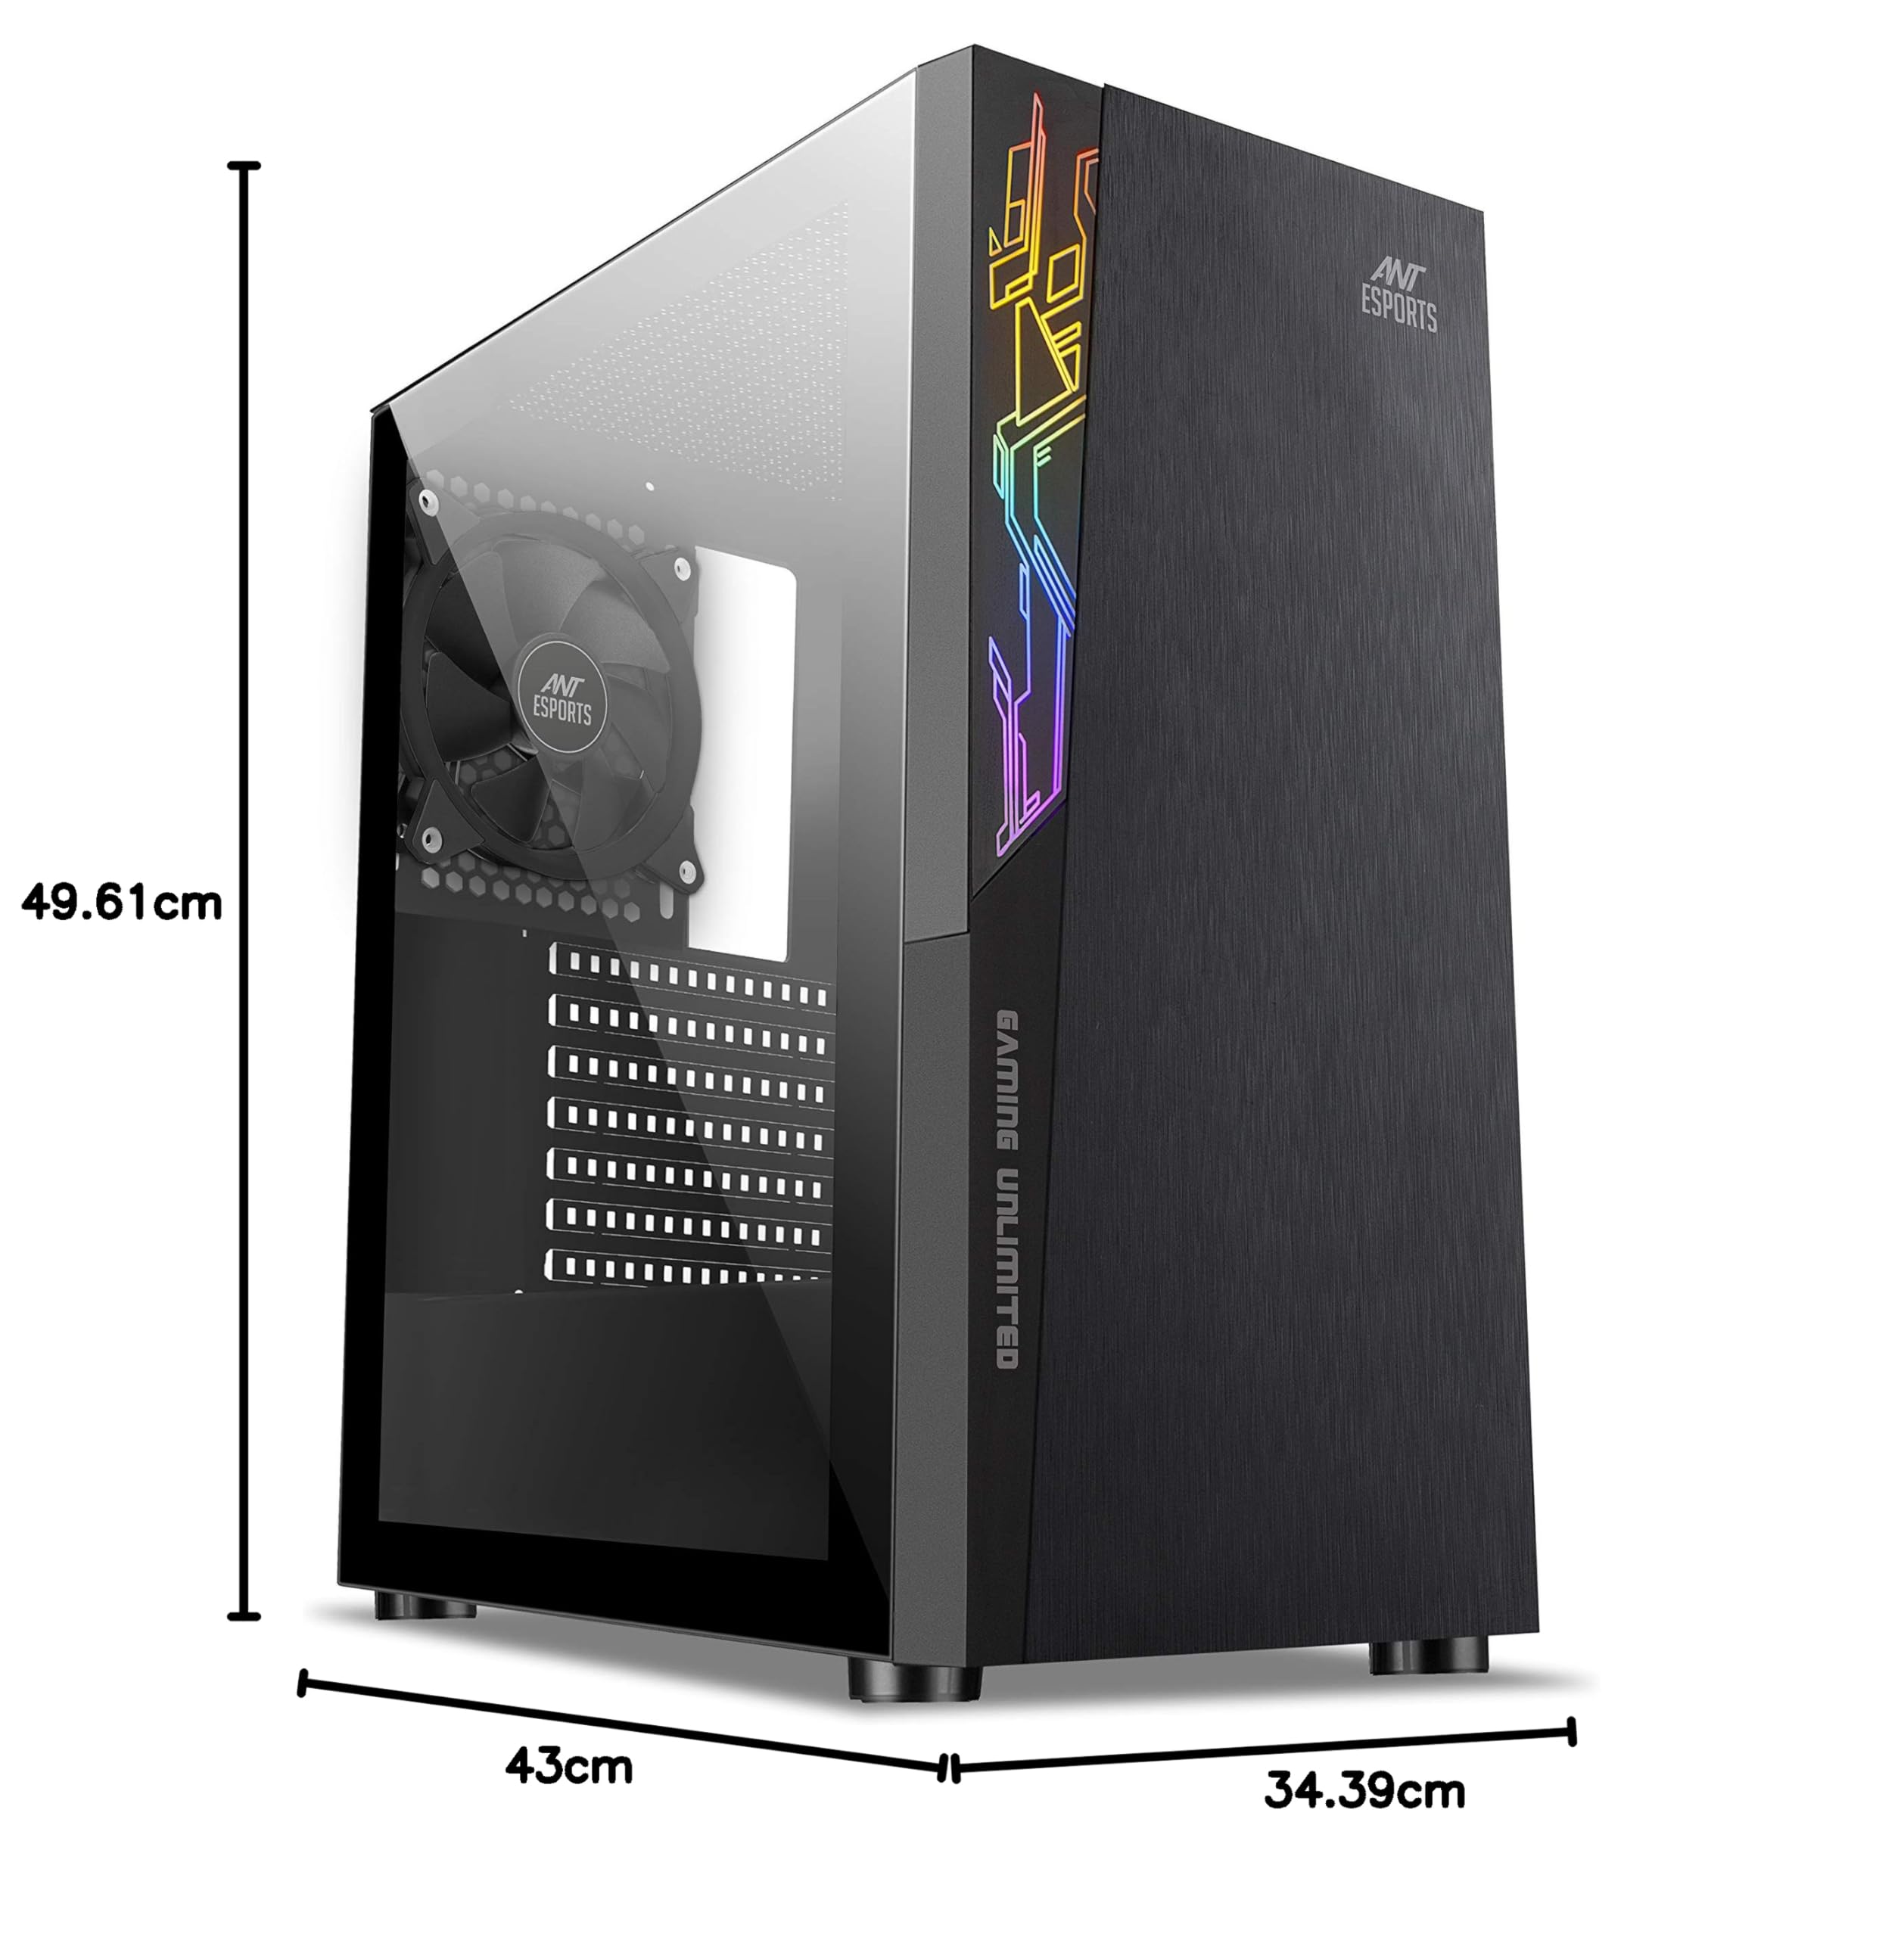
| Item Height | 43 Centimeters |
| Item Width | 49.6 Centimeters |
| Product Dimensions | 34.4 x 49.6 x 43 cm; 12 kg |
| Item model number | ICE-120AG |
| Number of USB 3.0 Ports | 2 |
| Included Components | Computer Case |
| Manufacturer | Ant Esports |
| Item Weight | 12 kg |
A**H
Best big cabinet at this price
This is the one of the best cabinets you can buy at this price point. Here are the things I noticed with the build.Firstly, the company should provide a manual of some sort with some instructions, not everyone is a pro pc builder!!Secondly, the build quality is pretty sturdy, and metal sheets fit perfectly, the glass panel is beautiful and solid and allows you to have a clear view of your beautiful build (if you have one of course). It even has rubber thingies around cable panels which are almost impossible to see in this price range. Motherboard's standoff were pre-installed so that's another good thing. There's plenty of space to properly manage all your cables if you know how to sensibly place them (don't be an idiot and cram everything inside like it doesn't matter, you are a creature with a brain, USE IT and organise your damn cables). I installed 2 Hdd and 1 ssd and it was butter smooth installation. Front has 3 Argb fans which are decent (although the quality could have been a bit better), air flow is pretty good and keeps my gpu temp at 56-60°C and cpu at 60-65°C under full loads. You cannot install your gpu vertically, but that's not a issue for me( I would never recommend a vertical gpu installation as it practically kills all the gpu air flow, unless you have a liquid cooled block). You can control light effects from front reset button if you plug in the reset cord for the fans instead to the mobo, to be honest it is a better and more convenient way to control the rgb. My case has a mesh front panel and with no dust filter, its a pro and con as well. Pro in the sense that it provides great air flow and temperatures are always well under control, big con of this is that it will attract dust very easily if you dont wipe the mesh with a damp cloth regularly. At Rs. 4700 I would recommend this to anyone without a second thought. If I could suggest any improvements, I'd say its length could be 4-5 inches more (this will allow for more space for cables to be adjusted when needed as they can get tight if you have non-m.2 ssds along with hdds. A dust filter for front mesh would help, if not, the holes could be smaller or a glass front panel with mesh on the sides ( this will prevent dust and the same time allow good air flow) and lastly the quality of front fans could be better.
A**V
Good Value for money case
It is overall good case and value for money. Just make sure following thing:If you are installing ATX motherboard in this case and planning to install liquid cooling for cpu, then top mounting radiator will not be possible for most of the AIOs. I can't mount radiator on top of my Arcitic Liquiq Freezer III - 280mm.Looks: GreatOverall quality: good for the priceFans: Average (look wise good, don't expect much of a performance and not PWM)
N**D
Oddly Satisfying
Technically, I would like to give it a 4.5 * rating, but since Amazon does not allow such nuances, I am going with a 5*.I had been on a hunt for a new case for my PC. The case was 10+ years old - from the time of the AMD Athlon (it still had the sticker on it). However, I had to leave the case sides open for the airflow as the case was not meant for the current range of power hungry and heat aggressive components. After looking at a lot of cases from corsair, cooler master, circle computers, I finally fixed on this one as it fit my budget and looked nice ! The PC is mostly being used by my son, so I thought that the front multicoloured fan rims would be awesome ( and yes, he loves it).The packaging: This is where the missing 1/2 * goes.The case is packed in a carboard box and comes with oodles of bubble wrapping_outside_ the carboard box. However, one simple aspect of the case is not covered properly - the side glass panel. Add to it the screws holding the side are losely attached, and while taking out the box, one of the screws managed to come off and scratched a small part of the glass. Shame.Fixing your stuff in:It took me a good while to get everything fixed, so I am writing a small guide with the pitfalls.1. Fix your CPU cooler on the motherboard before putting it in. I have a cooler master hyperion ( the red fan in the image above).2. Fix the motherboard first. There are many screws given with the case - so you will not need to go hunting. Add the additional CPU screw mounts as required. The thing to note here is that at the back, the shield that goes over the ports ( so you don't have big gaps) is a very tight fit in the space provided.3. Fix the Hard Disks. The regular HDDs are in HDD bays on the side ( non glass). Fixing in the SSD was a pain though. The recommended location is the inner wall, but that leaves very little space for the cables to attach to the SSD. So, I have mounted it on the side panel on the same side that you access the normal HDDs from.4. Fix in the PSU.5. The power cable needs to go through a small hole at the top near the power connector part. This is a real pain. I wish it was better slotted out.6. Fix the wiring to your HDDs and SSD on the right side.7. Front fans give the colour even without the RGB controller. Just slot their power connectors one into another and then connect to the PSU. Fit in the back fan. Yes, the case comes with 4 fans installed.8. Fix in your Graphics card. I have a NVidia 960 GTX and there is ample space in the cabinet for that. Get in the power cables from the slot at the base nearest to the card. Again, like the MB power supply , this slot is a bit too small.9. Fix in the front panel cables - this is the multi coloured cables. You may need to separete out each connector from it based on your mother board.10. Fix in the speaker provided. This gives the beep on starting the computer.Connect all the accessories like keyboard/mouse/monitor. Start the PC and make sure it boots up. Shut it down. Put in both the side panels. Start your PC and enjoy.
Trustpilot
1 month ago
2 weeks ago