We remain fully operational. Our teams are working around the clock to ensure your deliveries continue safely.

DOWNLOAD THE APP


Customer Services
Copyright © 2025 Desertcart Holdings Limited
DOWNLOAD THE APP

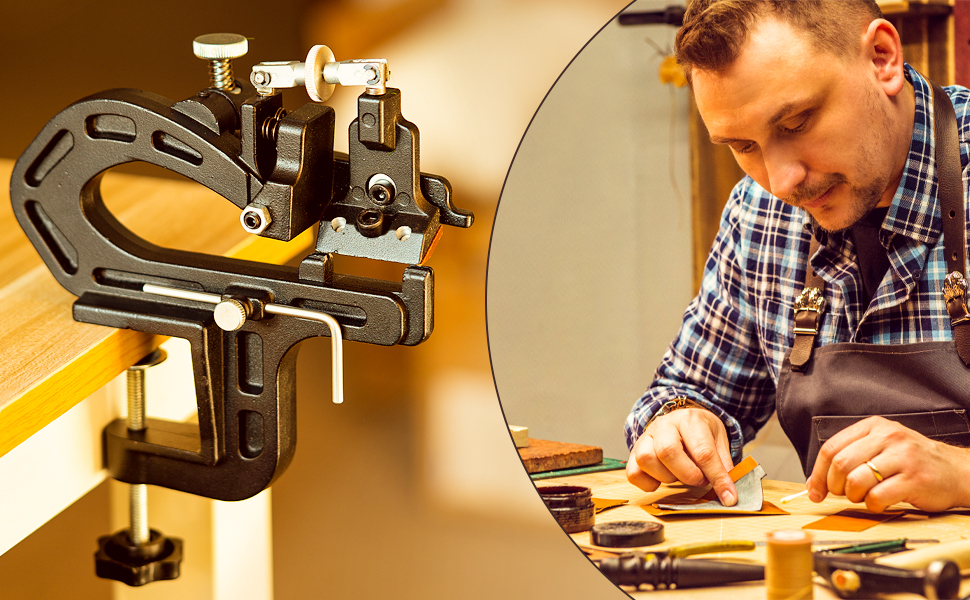
🛠️ Elevate your leathercraft—precision skiving made effortless!
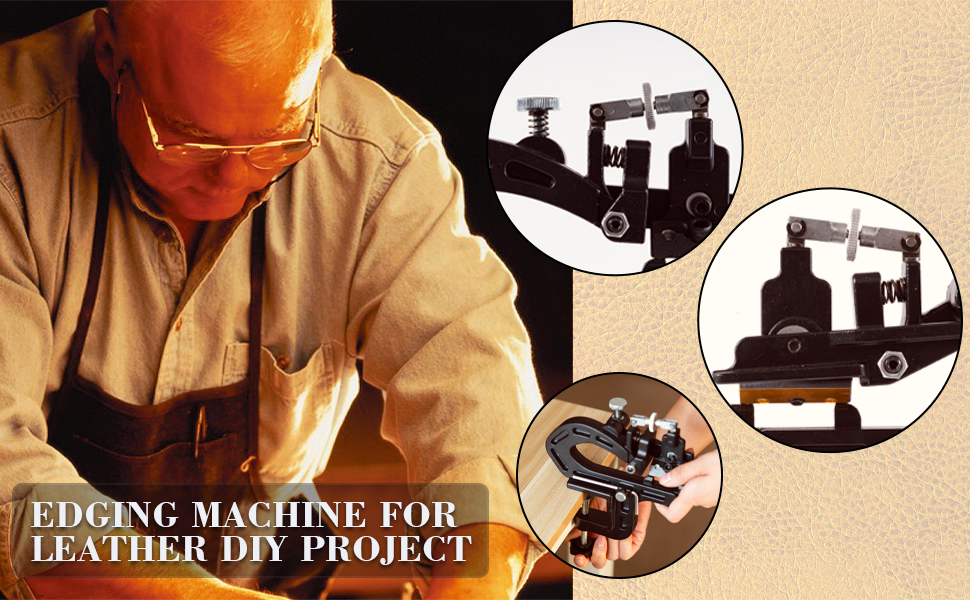
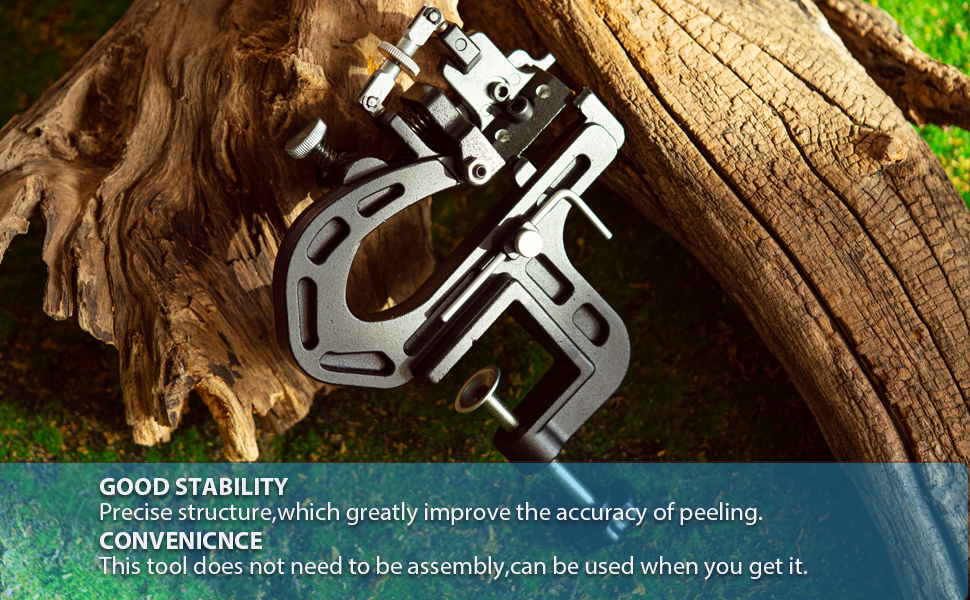
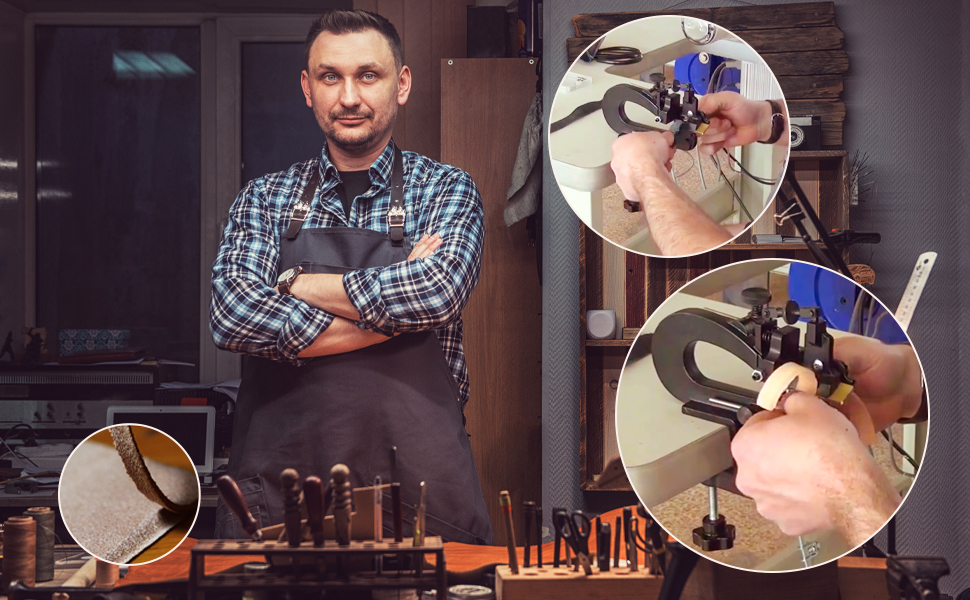
This manual leather skiver features a 27mm main roller plus three interchangeable rollers (4mm, 8mm, 12mm) for versatile leather thinning. Its patented mechanism locks the blade in place, eliminating time-consuming adjustments. Fully adjustable and designed for DIY leather projects, it enables consistent, professional-grade skiving with available replacement blades to maintain peak performance.
A**R
Requires fine tuning due to horrible machining tolerances. Once you get it tuned.... It's not bad.
This CAN be a good purchase. It's, price wise, cheap. The machine itself, yeah, it's made pretty cheaply to. ONLY BUY OF YOU'RE WILLING TO SPEND ABOUT AN HOUR TUNING IT!For tuning the goal is to get rid of all the extra wobbles, wiggles, and jimmying by "correcting" for horrible tolerances.1)Start with removing the pins that are clipped on. (Attach a small magnet next to the clip so that it doesn't go across the room or you lose it some other way. )2) Remove the adjuster knob.3) Remove the screwed in inserts that holds the pin and the adjuster knob.4) Wrap the threads of inserts with thread tape.5) Tighten the lower insert until right and aligned so that the forks on the adjuster align properly. (Put a small screwdriver through the insert. Don't He-Man it into place, the main body of the machine is pot metal and will strip out.)6) Place a thin washer between the top insert and the body. (This gives it a further range of motion for tilting the blade. ) Then attach the insert just like you did for the lower one.7) Sqeeze the forks on the adjuster so that it slides onto the insert tightly. (No He-Man, remember cheap easily broken parts. And one is right hand thread and one is left. Finding a left handed threaded anything is horrible.) Align the hole of the fork with the insert.8) Wrap the pins in a couple layers of aluminum foil. (Your shiming the pins to fit tighter.) Twist the pin on the same way the foil is wrapped, don't push it straight in. That will bunch the foil and remove it from where you need it.9) Once the pins are in check for wobble. It you have ANY try again with the above steps.10) Remove the horizontal Allen head bolt that is above the razor blade. Thread tape it and reinstall. Ensure no wobble at that point.11) Remove the 2 pivot screws (horizontal allen head bolts below the spring with a stop nut on them). Thread tape and reinstall. Both pivot screws have a point and they must align with the dimple inside or out won't adjust correctly/ evenly. Do not over tighten the pivot screw or set nut. (Common theme here right....)12) Remove the vertically mounted turn screw and add a set nut. (This isn't mandatory, however, when you use it and the adjustment slips you'll hate yourself for not having done it.)13) If you have a bench vise use that to secure the machine into place during use vs the janky table mount bolt.14) Don't think you need a huge angle to skive with. The small roller pin, a tight angle, and holding the material that is not being trimmed lower than the roller pin.The full roller pin is only used for skiving the piece flat instead of giving it a bevel.I've got mine tuned so that I can reliably Skive down to half a mm. Once you get it right, it's a simple machine so it shouldn't need much if any maintenence.
C**K
price
took a little time to get use to. once i did , worked great.
D**A
Too cheap, even for a frugal person.
I did all the little tweaks suggested by another reviewer and that seemed very helpful however while trying to put the leather strip (thinner chrome tanned calf skin) in place using the lever release, the lever actually broke off and I was unable to put it back in. If this hadn’t happened I would have been content but without this lever using the skiver is impossible. This is definitely getting returned.
C**R
Did not last long
Hard to adjust as everything seems to be loose when it arrived. After following some tips from a YouTube video, I was able to make it work but had to re tighten after a few uses. When working with tooling veg tan, it left marks on the leather which in my case made the leather useless. Handle broke off after a month. I trashed it.
C**N
Broke before i got to use it.
I had been curious about this type of leather skiver for quite a while. When I received it I started setting it up by clamping it to my bench. While getting ready to test it out the lever arm used to raise and lower the blade came off. There wasn't that much force required to move the lever arm and I assumed that the level arm screwed in and had just backed out in shipping. I picked it up and realized that it wasn't threaded and instead it was just a press fitted rod that went into a hole on the skiver. The only problem was the hole was only maybe and 1/8th of an inch deep and the rod was rounded on both ends so there was even less material for rod to hold on to.As there was no way for me to fix this easily I returned it for a refund.I don't know how well it would actually work because I never got a chance to use it. I seemed solid, but there seems to a lack of quality control.
J**S
Maybe it's technique I need to learn, but...
4-5 oz leather resulted in the attached photo. Very variable in depth and angle, resulting in a poor quality skive - perhaps with practice, or changing to a different blade, that will change, but, I cannot rely on it for any high end work right now.10-12 oz leather behaved a little better, but takes multiple passes to skive down, though usually with pretty solid results.It clamps securely to my table, is easily adjustable, and it does skive leather edges.
J**N
Could be better
Although good / strong / quality material, it failed / broke within a month (30days) of use.
R**T
DON'T BUY IT! You get what you pay for, it was cheap and, yep, it's cheap alright.
You get what you pay for!! Yep, it was cheap and it is cheap. There was no tension bar for the lever adjustment. The "spings" look like they are nothing but hand coiled wire someone made themselves. The base attachment "plate" wasn't on and the hole drilled in it wouldn't fit over the screw for attaching it to a work stand. I had to drill and new hole and attach a locking nut and washer in order to place it in position on a workbench. You get what you pay for! Lesson learned....DON'T BUY IT!
Trustpilot
2 months ago
5 days ago