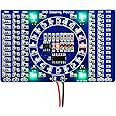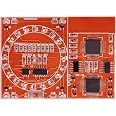

Gikfun DIY SMD SMT Components Welding Practice Board Red led EK7026_
| Part number | LYSB00Y20JYTM-ELECTRNCS |
| Item Weight | 22.7 g |
| Product Dimensions | 13.46 x 1.02 x 8.64 cm; 22.68 g |
| Item model number | LYSB00Y20JYTM-ELECTRNCS |
| Colour | red |
| Voltage | 5 Volts |
| Item Package Quantity | 1 |
| Batteries included? | No |
| Batteries Required? | No |
D**.
Very fiddly
Not for beginners, would recommend using 0.3mm solder for some of the parts, instructions are a little confusing. Not a bad little project when done right.
N**.
Pas fais pour les débutants
Incompréhensible pour les débutants aucune inscription sur les composants pour les différencié
A**.
Esercizio per saldature su SMD
Ottima soluzione per esercitarsi a fare saldature di componenti su circuiti stampati senza distruggere congegni che si ha in casa ed avendo comunque la possibilità di testare il risultato.Buon rapporto qualità/prezzo.L'unica "macchia" del prodotto è che non ci sono indicazioni su come vanno saldati i componenti. Fortunatamente ci sono diversi video sulla rete che mostrano come procedere.
A**O
Great SMD Practice Kit
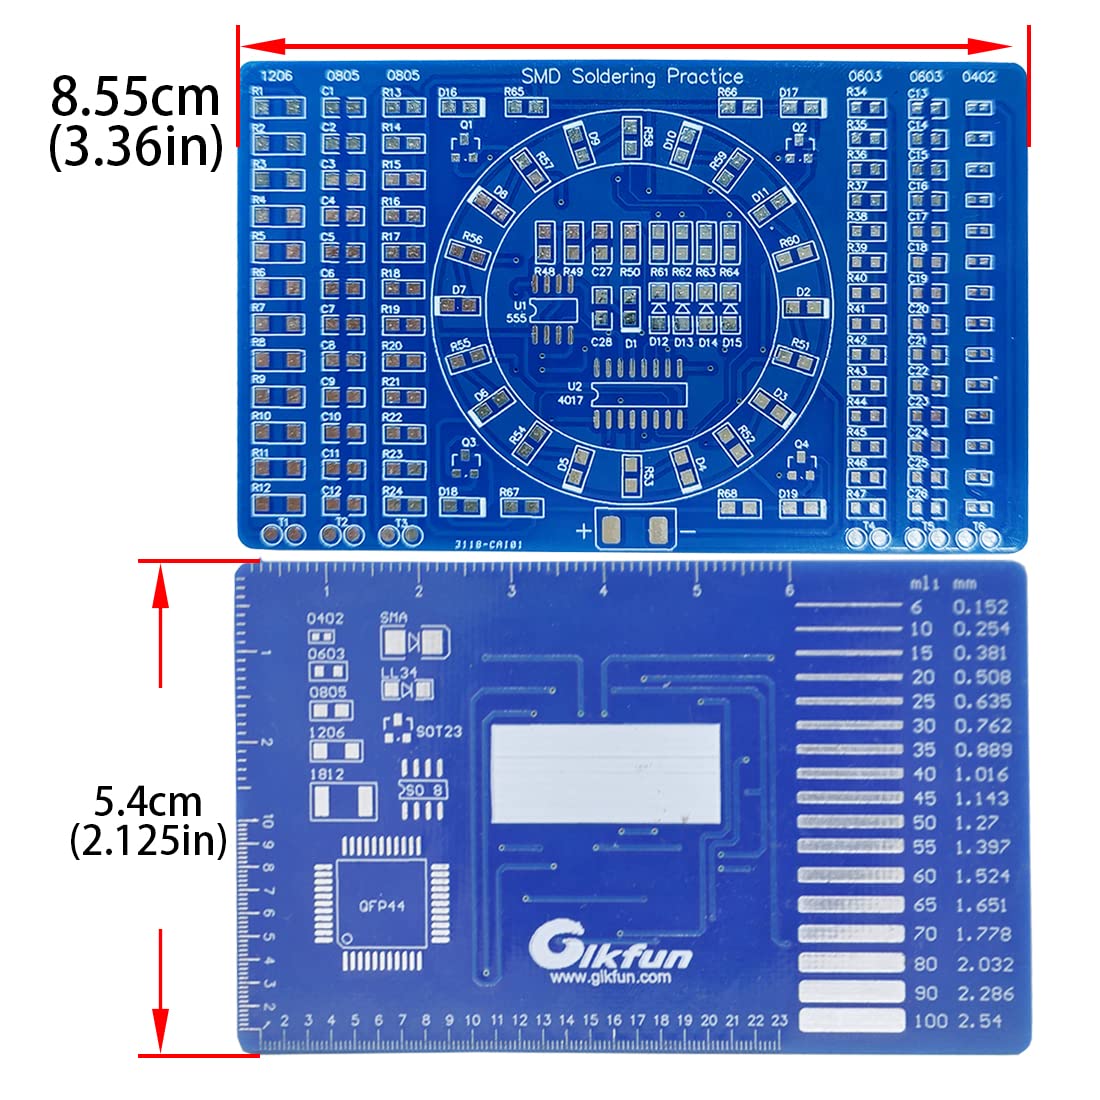
The media could not be loaded. DESCRIPTION:The description is somewhat lacking, so I'll try to clear up some of the confusion. This is a beginner SMD soldering kit, intended for practice. It includes two "sections" on the front of the board: practice and an LED circuit. The back contains several rulers in standard and metric, a trace-width gauge, and standard SMD component pad patterns for reference.The first section is is a practice area for various surface mount components, and consists of the three vertical rows on each side of the board. These rows consist of solder pads for four different sizes of SMD parts: 1206, 0805, 0603, and 0402 (Google "SMD sizes" to find out what those numbers mean if you don't already know). The kit includes resistors and capacitors to solder to these rows, and I believe the values are random. These rows aren't electrically connected to the LED circuit, so it's fine if you make mistakes or lose components. They even include a few extra of each, which was good because I managed to lose a few of the 0402 resistors when they slipped out of my tweezers. Those things are TINY.The second section is the actual LED circuit, and it's located in the center of the board between the two groups of practice rows. It consists of a 4017 decade counter which drives a ring of red LEDs. The LED's light one at a time, chasing around the circle. Four blue LEDs at the corners of the center section pulse on and off together once per revolution (on for half, off for half). A 555 timer provides the pulses to drive the counter, and also illuminates a red LED in the center of the circle with each timing pulse. The circuit incorporates several SOT23 transistors and DO diodes. The ICs are both SOIC packages. The speed and brightness of the LEDs will depend on the input voltage you apply.ASSEMBLY:I don't think I could have done this without a good pair of tweezers, some form of hands-free magnification (I love my Brightech - LightView PRO SuperBright 56 LED Magnifier Lamp - Adjustable Swivel Arm - 5 Diopter 5" Lens - Space Saving Clamp - White ), and a fine-tipped soldering iron. Having the right tools for the job is a huge advantage.My instructions were in English, but not as clear as I'd like. First I separated all the components into the two groups, one for each section (the practice parts and the "real" LED circuit). The component values for the LED circuit are shown on the instructions. They should all be pretty obvious because there are small numbers of most of them. The only confusing one was the strip of 330-Ohm resistors. Make sure you put the strip of resistors marked "331" in the LED circuit pile. After separating the LED circuit parts, you should have 6 leftover strips of resistors and capacitors. These leftover strips should have about 14 components each of the 1206s and 0805s, and about 16 each of the 0603s and 0402s. Start with these and practice your technique. It's probably easiest to start with the larger components and work your way down to the smaller ones. Search online for SMD soldering tutorials if you need to.Once the practice rows are done, you should be ready for the main circuit. The trickiest part is the polarities of the diodes. Use the picture guide in the instructions and note that the LED polarity symbol is on the underside of the part. For the ICs, solder one corner first, then the opposite corner to hold the part steady. Then solder the rest of the pins. If you accidentally connect two pins, use some solder wick to mop up the excess solder. The wick won't pull the solder from between the IC and the board, so you can make a really clean-looking connection this way.Lastly, check that power is not shorted to ground (use the continuity mode on your multimeter and test the positive and negative terminals at the bottom of the board). Then hook up the power! I used some alligator clips and a 9v battery (I believe 3V to 12V is recommended).This was my first SMD project and if I figured it out, you probably can too. If you have any questions, leave a comment and I'll do my best to answer you quickly. Have fun! Brightech - LightView PRO SuperBright 56 LED Magnifier Lamp - Adjustable Swivel Arm - 5 Diopter 5" Lens - Space Saving Clamp - White
M**O
Not too complicated
My first smd , good for practice
A**R
Good for learning hot air soldering.
I have never had good luck hand soldering SMD components. Hands are too shaky and eyes are too bad, in other words I'm getting too old. I have successfully built a couple of projects using SMD and soldered by hand but was never happy with the results, so I bought a hot air soldering station and bought a couple of these practice kits to learn. They worked out like a dream. Successfully built both kits and learned a lot, and more importantly got the confidence that I could do this kind of work given the right tools. The only problem I have with this kit is that the documentation is not the best, and none of the parts are labeled. The IC's are easily identifiable by shape, but the resistors and capacitors are not.Overall a good kit to learn SMD soldering with an iron if you have the steady hands and eye sight, or, if you're like me, and decide to cheat by using a hot air station. Just be prepared to figure out what the components are with out any documentation.
Trustpilot
2 weeks ago
1 day ago