


🌟 Level Up Your Game with Style!
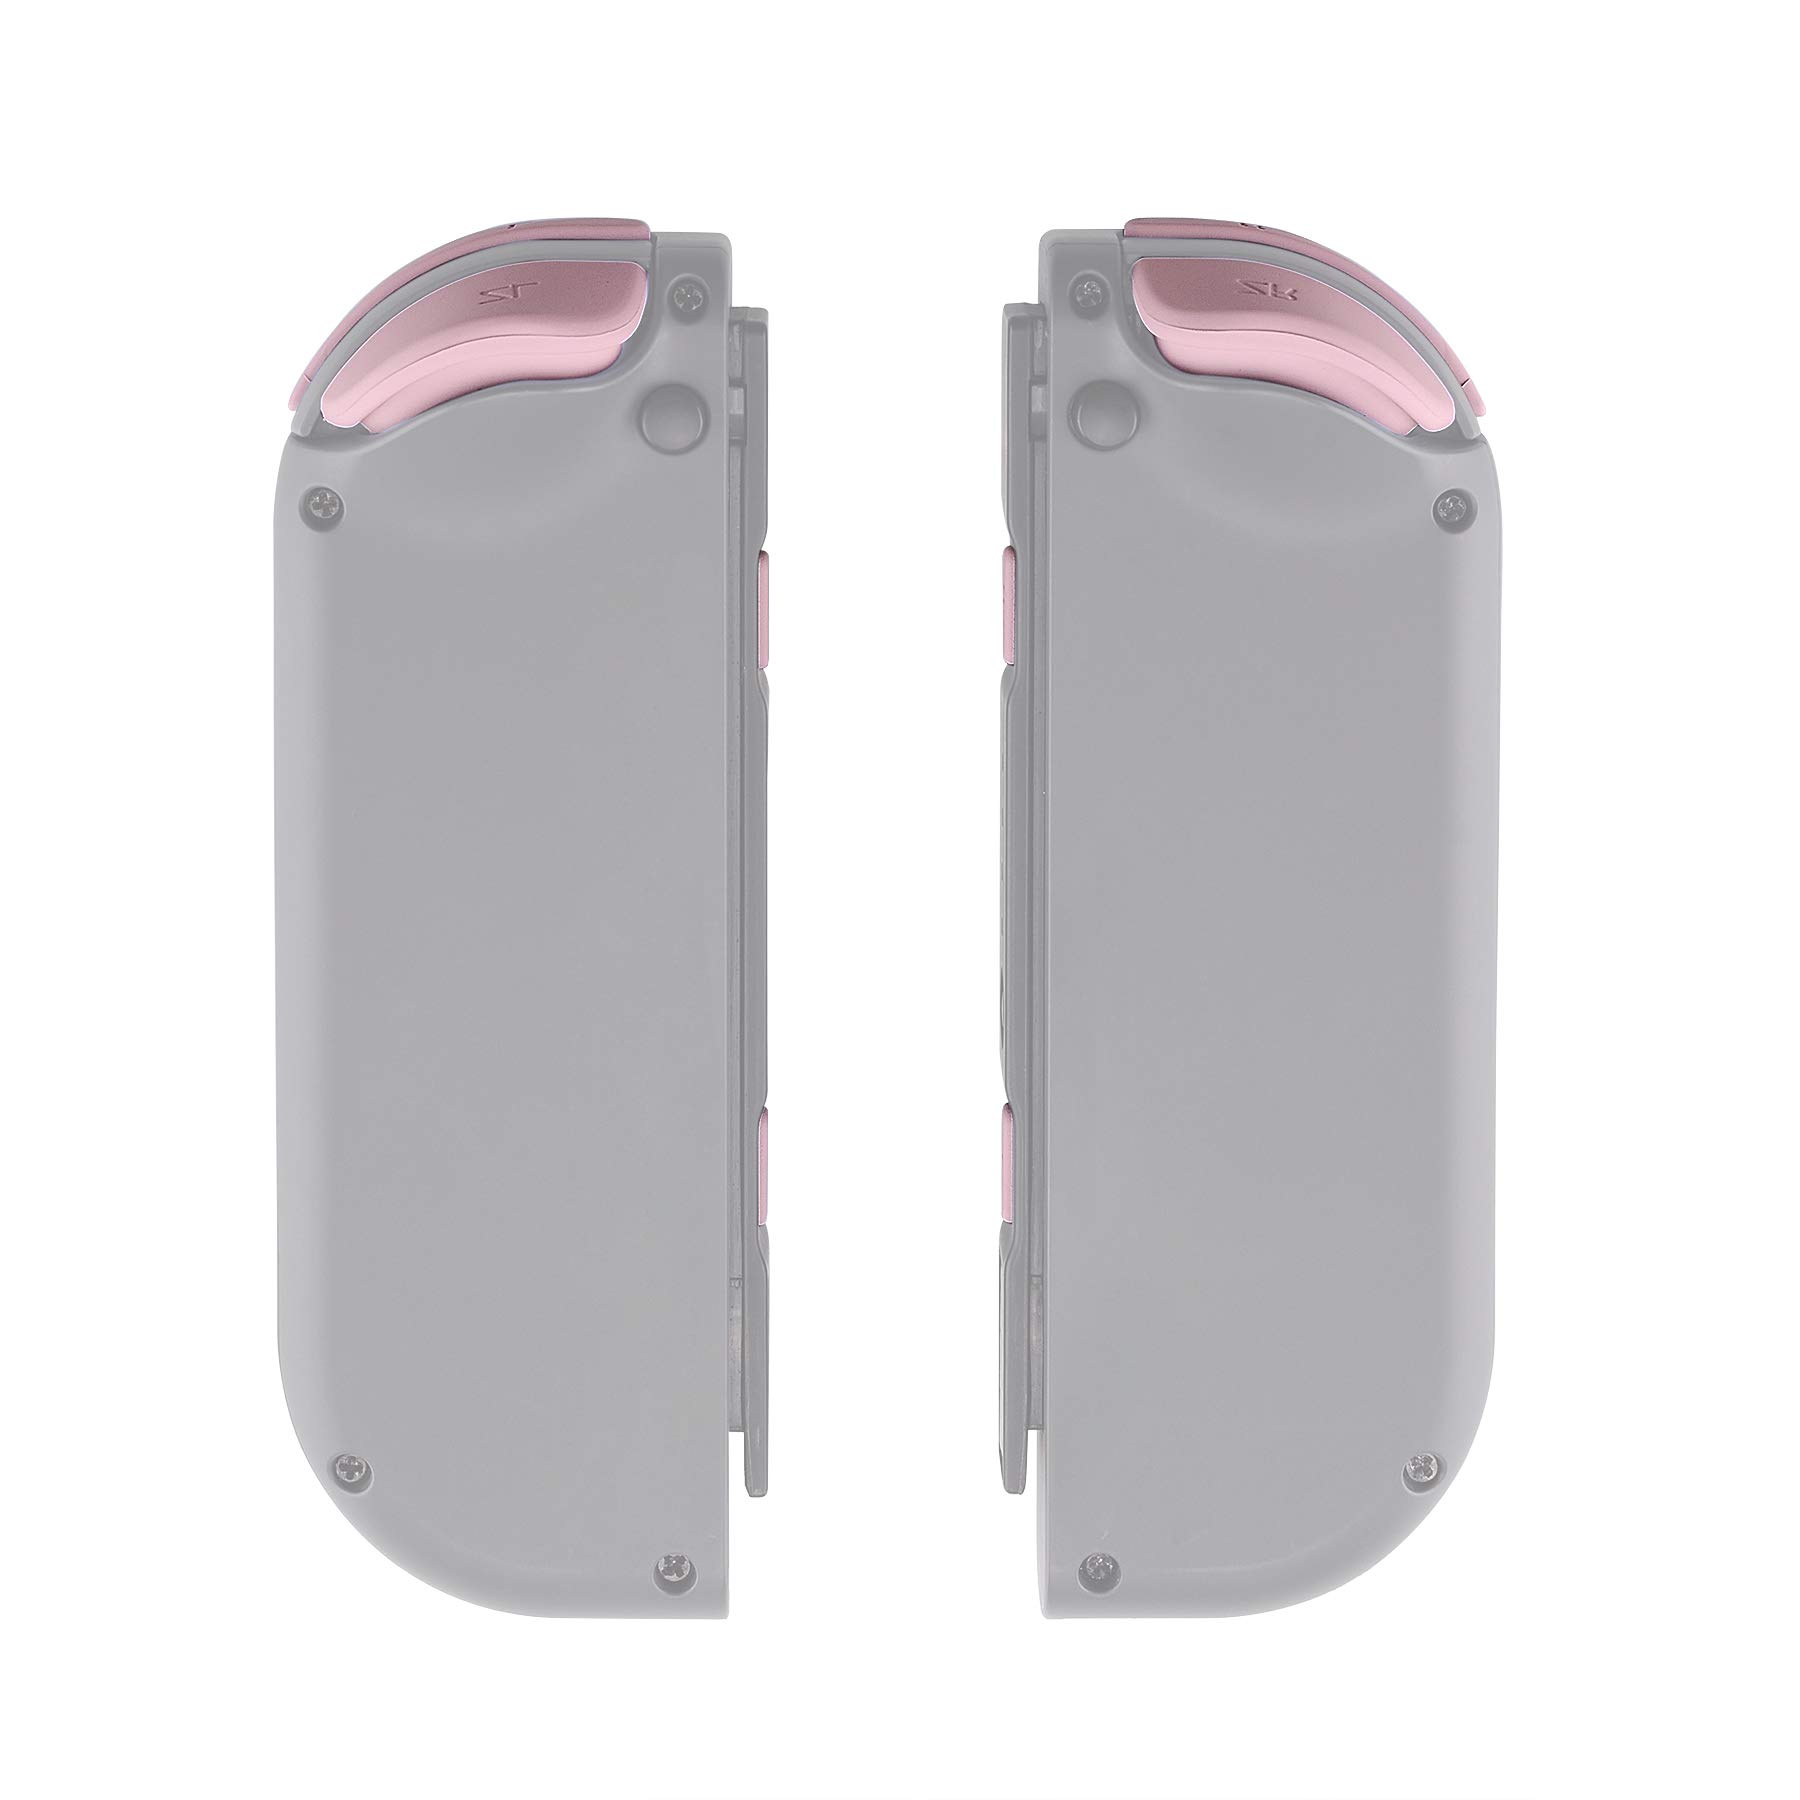
The eXtremeRate DIY Full Set Buttons for Nintendo Switch & Switch OLED offers a stylish and customizable solution for replacing your JoyCon buttons. This set includes all necessary buttons and springs, designed for a perfect fit, and is ideal for gamers looking to refresh their console's look. Installation requires moderate electronic skills, with helpful video guides available online.
A**R
Like it, but not perfect
Update 3/15/2023Company offered me a refund for the defective buttons. So I’m either going to rebuy a new set or attempt to fix the ones I currently have. I definitely will purchase in the future. Not everyone will have my experience._____________________________________________First off, the chrome pink button set looks amazing on my black Nintendo switch.Second, while it looks nice, this was a royal pain in my butt to put back together. I broke the motherboard on the LEFT controller twice. The original I broke trying to put the top strip back in, then same issue with the back up replacement. Just that one upper strip.Third, the A and B buttons do not fit correctly causing them to not work at all.Fourth, the HOME button is a little wonky as well.And FYI, I had no issues putting the RIGHT controller back together. I’m sure it’s a me thing as my hands are very unsteady these days. Or maybe it’s the strip itself. Idk. I’ll be replacing it though.I left seller feedback so I’m hoping to hear back from the company as I’d love a replacement set of chrome pink buttons if possible.Fifth, I had no issues with the tools like everyone else seems to. They work fine for me. Maybe I got a rare working set of tools lol. But then ended up with a few wonky buttons.All in all. Looks awesome but a huge pain in the butt to put back together.
L**8
Love it
The installation video needs to be updated as the ZR strip was put in backwards which made me think I broke it but once I figured it out wasn’t too hard and love the new look 🩷
J**.
Perfect Buttons, Perfect Customer Service
I cannot speak to the efficacy of the included screwdriver. I have my own kit and did not use it.The buttons installed great and look and feel perfectly in line with the originals. The tutorial video shows using a pair of flat sided clippers to remove the parts, but frankly you can just twist them off. I used a knife to trim any extra plastic but this is probably not necessary. The tutorial video does not show that you need to be careful when replacing the Z buttons, and I broke the black button on the pcb. You need to apply some pressure lifting the trigger away from the pcb as you remove.My package was missing the clear ring surrounding the home button. I contacted the seller and they sent me two more. That was no more than a mild inconvenience. I have left off a single star for this and the tutorial being unhelpful and I just used iFixit instead.
D**N
One button is stiff, but overall great!
Would have been 5 stars if the left trigger wasn't so darn stiff. The other buttons are perfect though. Also, I appreciate the very detailed, step by step Youtube video that the company puts out. Made installation a breeze.
S**O
Exactly what I ordered!
Loved the color on these! So comfortable as well!
S**Y
Nice looking set
These were easy to swap out as I changed joycon shells to their atomic purple set. It comes with all of the buttons except the back release button on the joycon. The SR and SL buttons are included and easy to put in. Just watch their video and pause when you need to, following along. I recommend buying the $8 screwdriver, tweezer, and brush set that's on here as it is much better to worth with than the included tools. I kept all of my original screws and used them as the better screwdrivers didn't strip them. These do come with replacement screws and extras, so now I have plenty. I plan to put the clear atomic purple that came with the joycon and switch body set into another pair of joycons I have. I may buy another set of joycon shells for that. The tiny ribbons were a bit challenging. The right joycon had a very short ribbon cable that they had demonstrated to screw on the middle shell first and then plug the ribbon in under, but that was impossible on mine, their cable had to be much longer. I simply plugged the cable in, and then placed the middle shell on, laid the button receiver on it and put the one screw in it then. much easier than doing it their shown way either way honestly. The ribbon cables are the only thing that stressed me out a little, I was nervous I would mess them up. Just be patient and you'll get it done. Mine work perfectly and look much better than before.
C**L
Chameleon Purple looks so good
Taking a joy-con apart is no fun. At all. HOWEVER, the chameleon purple with the matte black case (same company) looks so nice on my OLED switch and is well worth the effort.If your buttons seem to not fit or if they stick, make sure you haven’t installed them incorrectly! When done right, the buttons work perfectly but may need a little filing where you remove from the tabbed sheet. If you find a button doesn’t press or if it is loose, you may have forgotten the rubber stoppers from the original joy-con or placed the button in an incorrect position. If a button doesn’t work, ensure you put the ribbon back in the correct position and latched it into place.The hardest part of the installation is going to be the trigger buttons on both sides and the extra parts inside your right joy-con (NFC antenna, the infrared sensor, and antenna) because you’re going to have to detach and re-attach the ribbons. Just have a small pair of tweezers on hand and when you place the L or R triggers, ensure you put pressure on it with the ZL and ZR plate in place or the springs will yeet themselves into space. There are knobs on the triggers where the spring goes. Make sure all springs are in the appropriate place or your triggers won’t… trigger.I also did a complete housing replacement while replacing the buttons, so my joy-cons were an absolute trash heap of circuitry. If something isn’t coming out, it probably is secured by tape. Just pull on it. Except the ribbons. Don’t pull the ribbons.I’m in love with this look! May buy a few more sets for the other joy-cons I have laying around.
Z**N
love love them.
The media could not be loaded. I struggled with these; i even thought i broke my back ZR button because when i clicked it, i never out it back in all the way! So always DOUBLE CHECK WHAT YOUR DOING when putting it back together. But i’ve also never done anything like this to my switch before so i’m very new at this. But other than that, they work, look and feel amazing! Worth the buy!! 💕💕💕
C**Z
Cumple su funcion
Lo compre para reemplazo de los originales ya que estaban desgastados y cumplen su funcion a la perfeccion
A**O
Buena calidad
S**0
Montaje en unas 1-2 horas. Se requiere seguir detenidamente una buena guía para no cagarla
No uséis los detornilladores que traen consigo el pack porque son malos y se comen la cabeza de los tornillos.
K**G
Excellent Quality Product
So here’s the deal: It ALWAYS sucks to re-shell a switch or its controllers. The whole process for both took me an embarrassing 3.5hrs of frustration and pain. At the end I realized that I forgot to transfer the spring for the new right bumper, but it works as is and I’m very tired of fiddling with the joycons at this point.That all said, none of the difficulties I encountered had anything to do with this product. The buttons all fit perfectly and comfortably in the controller shell.The Color:The color is best described as yellow-gold. It isn’t identical to the photos, but if anything it seems to have a richer and more true-gold color. If you’ve ever seen an actual gold bar, that’s the color that these are and the metallic effect is quite beautiful. I was hesitant to purchase these after reading someone else describe the color as “orangey”, but I can happily say that this was not the case for the products I purchased.The Condition:The buttons arrived in brand new condition and detached easily from their plastic framing for installation. No visible portions of the buttons were discolored or missing the chrome gold coloring.Overall, I would recommend this product if you want to give your grey or black joycons a prestigious feel. I intentionally didn’t purchase the gold joycon shells because I like the contrast of the dark grey and gold- and I have no regrets!PS: If you buy any re-shelling products like buttons or casings, please understand that it is a process that requires patience and care. The interior cables are extremely delicate and these kinds of modifications shouldn’t be attempted by those who are prone to losing their tempers or getting frustrated and giving up. If you buy this for your kid, either help them install it or do it for them entirely.
J**O
Defraudado
Solamente son un reemplazo de los botones, no te de todo el conjunto plastificado del mando.
Trustpilot
1 day ago
1 week ago